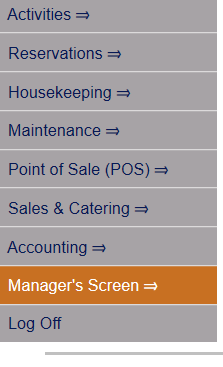
Select Manager's Screen to be taken to the MANAGER'S COMMANDS screen.
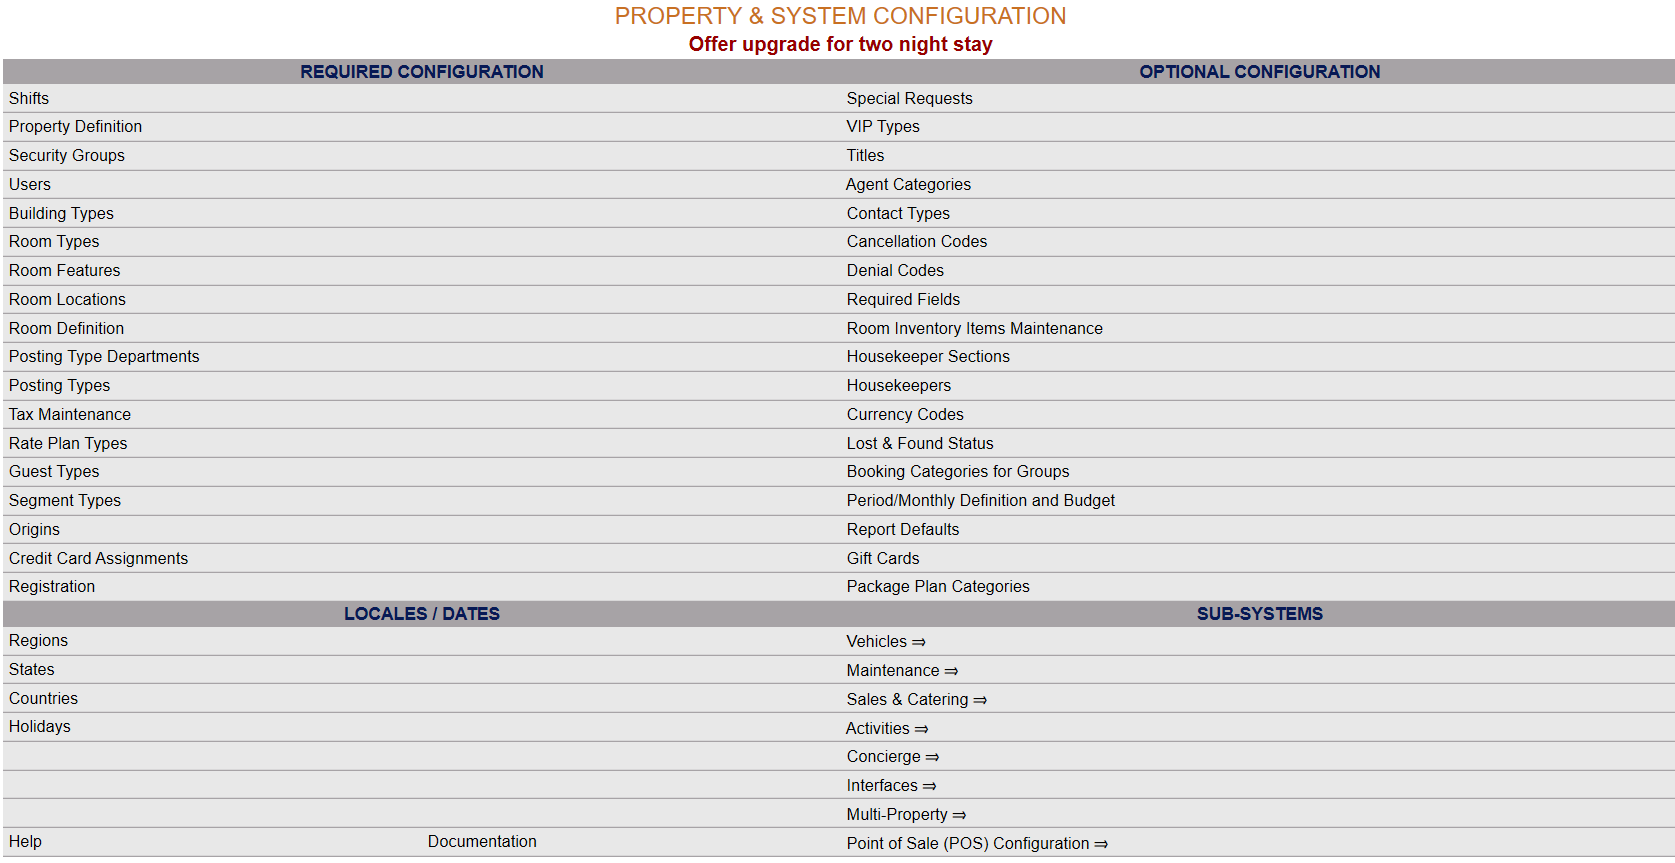
Select Configuration to be taken to the PROPERTY AND SYSTEM CONFIGURATION screen.
Alternately, you may also be able to select Configuration directly from the Quick Menu, if the menu has been set up to include the Configuration option.
This will take you to The Property System Configuration Menu.
The list of property configuration options are divided into four sections, which are Required Configuration, Optional Configuration, Locales/Dates and Sub-Systems.
Select Room Definition from the Required Configuration section.
The Room Definition screen display is split into two frames, with the left side of the screen listing the Rooms already defined and the right side containing the fields you need to complete in order to add or edit the configuration for the Room. Any changes made on the right, once saved, will be updated in the listings to the left.
By Default, the General tab will be open when you arrive at the Room Definition screen. The large majority of the required information is located on this tab, such as the Room number and Room Type. There are three more tabs available, the Features / Location tab, the Room Status/Ext tab, and the Description tab.
The currently configured options are displayed by:
Order: List Order of the Room Numbers. If there is no list order number, the Room Numbers will be displayed alphabetically.
Building: The building the specific room is located in.
Room #: The Room number, a short version of a name for the specific Room Location.
Type: The Code name of the Room description or how you wish to refer to it.
Selecting any Room on the left will display the details on the right.
Your options include the following:
Generate a new entry:
Click the New ![]() button from the toolbar to add a new Room Number.
button from the toolbar to add a new Room Number.
Complete the fields described below.
OR:
Select an existing Room Number from the list on the left, and click the Replicate ![]() button from the toolbar. Then change the field information as described below.
button from the toolbar. Then change the field information as described below.
Edit the current selection:
Change the field information described below.
This tab gives you the basic information of the room such as room number, connecting rooms, size etc:
Room #: This is the actual number you wish to represent the room. If you have generated a new room you can enter the number into the field. If you wish to change the number of an already existing room, click the "Replace Room #" button in the local tool bar.
This field is required.
Rack Order: This is the order you want this room to appear on the room rack chart. This is the order you wish the rooms to be displayed to your users, NOT necessarily numerical order.
Blocking Order: This is the order you want the room to be selected in (based on availability) when auto assigning a room.
Room Type: This is a drop-down menu of all available Room Types (K, DBL, etc ), as defined by your property. If the code you desire is not available you may configure this option, see Room Types for more information.
This field is required.
Bedded?: This box may be checked or unchecked. By default it is unchecked. A room is considered bedded if it contains at least one actual bed (NOT a sleeper-sofa).
Number of Beds:Is this room bedded (versus a non-bedded PERM room)? If so, list the number of beds that are in the room.
Handicapped?: Is this room considered accessible? This box may be checked or unchecked. By default it is unchecked.
Room Description: The Room Type Description (King, Double, etc - based on your properties list of room types). By default, if this field is left blank the description from your selected Room Type will be used.
Building: This is a drop-down menu of all available Buildings configured for your Property. You should select the building this room is in (provided your property is using buildings - otherwise it will default to "MAIN"). If the building you desire is not available you may configure this option, see Building Types for more information.
Floor: The floor number this room is on. By default it is listed as 1.
Connecting Rooms: If this room connects to others, you need to list any room numbers that connect to this room. There are three separate fields, for the first, second and third connecting rooms. You should complete these as necessary.
Housekeeping Section: This is a drop-down menu of all available Housekeeping Sections configured for your Property. Select the appropriate one for this room.
Energy Section: The Energy section this room falls under (provided your property is using sections). Enter it into the field. By default it is blank.
Last KWh reading: This field shows the last KWh reading entered for the room. It is set by default to 0.00. This field may be manually altered, and if your Property posts charges for electricity, you should enter the current meter reading for this room. The number in this field will be used automatically by Skyware to complete the "Previous KWh" field on the Electric Meter Entry screen. This reading will subsequently be automatically updated when the room has charges posted to it for guest electricity usage .
Smoking: Is this a smoking room? This box may be checked or unchecked. By default it is unchecked.
Suite?: Is this room considered a suite? This box may be checked or unchecked. By default it is unchecked.
Do NOT auto post Room and Tax: This box may be checked or unchecked. By default it is unchecked, meaning the first night stay WILL automatically post when the guest is checked in.
Credits assigned for housekeeping: (For your housekeeping staff). The credits associated with this room for cleaning; if this room is larger than usual, or has connecting rooms, it may be given more credit than others for the cleaning it takes.
Stayover Credits: Stayover points or credits assigned to this room for housekeeping credits. The default option is 1.00.
Departure Credits: Departure points or credits assigned to this room for housekeeping credits; departures usually require a more thorough cleaning, so you may wish to give more credit than for a stayover clean. The default option is 1.00.
Activate: The Date the room should be activated (become available). Click within the field to open the calendar option to select the correct date this particular room will be available from.
De-Activate Dates:The Date the room should be de-activated (no longer available). Rooms which have been used cannot be deleted from Skyware Systems; if you wish to remove a room from use, it will need to be deactivated. Click within the field to open the calendar option to choose the date this particular room will no longer be available from.
Picture: This is a link to a digital picture of the room, if you have one available you should put the URL here. If you have a link here, there will be a button next to the field called "Show" that when clicked will open the image so that you can see it is the correct one.
Coordinates: Site map coordinates. This is your room location on your Property site map.
Length: This is the length of your room.
Width: This is the width of your room.
Default room for an activity/amenity only stay: This box may be checked or unchecked. By default it is unchecked. If this room should be used with a particular activity or amenity, you should check this box.
Allow multiple stays to be booked into this room at the same time: This box may be checked or unchecked. By default it is unchecked.
Condo Owner: This is the ID number, NOT a name; the field is optional and only used if Condo logic is implemented. You can manually type in the ID number, or you can click the search icon box next to the field to open up a new screen listing all the available options, and select one.
In this tab you can attach Features and Locations (provided they have been set up at your property) to a specific room number. When you have the system auto assign a room you can select features and locations desired by the guest to get the best room match possible.
Click the Fast Pick for Features button to open a new window listing all available Room Features at your Property.
Select all Features that apply to this particular room, then click the orange "Save and Exit" button to add them.
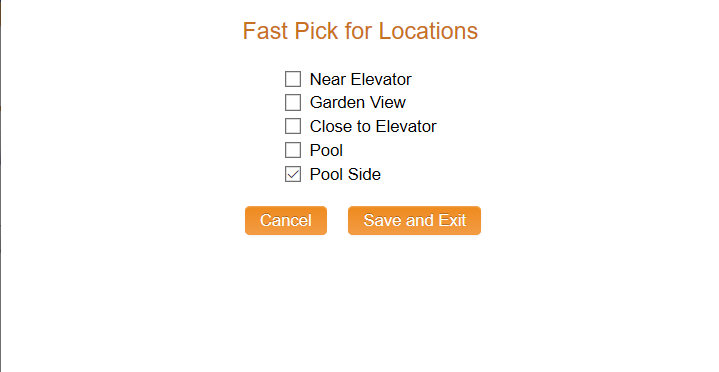
Click the Fast Pick for Locations button to open a new window listing all available Room Locations at your Property.
Select the Location (s) that apply to this particular room, then click the orange "Save and Exit" button to add them.
In this tab you can set up a status (OTHER than available to rent) for the room, as well as set up the telephone extension number for the room.
Click the Add icon in the Status field:
This will open a new screen to add a room status.
To add a status ( for example, if a room requires maintenance) you will need to complete these fields:
Room #: This should be the room you are currently defining. This is a drop-down menu of available rooms; select one.
This field is required.
Status Type: This is a drop-down menu of available options.
The status can be DEA (Deactivated), Do Not Sell (DNS), Emergency Out of Order (EOO), and Planned Out of Order (POO). Select one.
This field is required.
Reason: This is the reason the room is considered Out Of Order. Type in manually.
This field is required.
Start Date: The date the OOO begins. Select the year, month and day from the drop-down menus or click on the calender icon to choose the date this particular room will no longer be available from.
This field is required.
End Date: The date the OOO ends. Select the year, month and day from the drop-down menus or click on the calender icon to choose the date this particular room will now be available from.
Note: To put the room back in order - set the End Date to yesterday if start date is in the past.
Entered by: This field will show the User whom entered this item (i.e put the room into OOO).
Note: You can also remove a status associated with this room by clicking the red "X" delete button in the status field on the tab without opening a new screen.
Click the Add icon in the Extension field:
This will open a new screen to add a telephone extension for the room:
If an extension already exists for the room, it will be listed on the left of the screen.
Extension: This is the number for the extension FOR THIS ROOM. Type in the number.
This field is required.
Local: This box may be checked or unchecked. If checked, the telephone can be used to make local calls.
Long Distance: This box may be checked or unchecked. If checked, the telephone can be used to make long distance calls.
Click the "Rooms" button in the local tool bar to return to the Rooms Definitions page.
Note: You can remove an extension associated with this room by clicking the red "X" delete button in this field without opening a new screen.
This button in the local tool bar allows you to quickly add a range of room numbers that have the same criteria (room types, room description, smoking/non-smoking, building, beds, floor, and housekeeping/energy sections).
Click the "Room Generator" button:
This will take you to a new screen where you can enter in the range of room numbers and appropriate room information:
Room # Fromand to: These fields allow you to enter in a RANGE or SPAN of room numbers, rather than one at a time.
These fields are required to complete this screen.
Room Type: This is a drop-down menu of available room Types. Select one.
Note: This will be the room type for ALL the rooms in the range selected.
This field is required.
Smoking?: This box may be checked or unchecked. By default it is unchecked.
Description: The Room Type Description.
This field is required.
Building: This is a drop-down menu of the available building options. Select one.
This field is required.
Beds: List the number of beds that are in each room. This field is optional; if not all the rooms in the range have the same number of beds you can leave this field blank.
Floor: Type in the floor of the Property the rooms are on. This field is optional; if not all the rooms in the range are on the same floor you can leave this field blank.
Housekeeping Section: This field is optional; if not all the rooms in the range are in the same section you can leave this field blank.
Energy Section: This field is optional; if not all the rooms in the range are in the same section you can leave this field blank.
Once you have entered in the range of room numbers and appropriate room information you can click the orange Generate Rooms button. Continue to enter room ranges until all of your rooms are in the system.
You can go into each individual room number and modify the information after they have been generated.
When you are finished adding or editing any Room Definitions, click the Save ![]() button to save the changes.
button to save the changes.
To view any changes made, click the Activity log ![]() button in the local tool bar.
button in the local tool bar.


